Introduction
This article will explain how to apply Application Lifecycle Management (ALM) in Azure DevOps for Power Apps. It will be shown how to set up the required Azure DevOps environment. Furthermore, it will be described how source code/Power Apps can be versioned, quality assurance can be performed and subsequently artifacts delivered to the production environment.
The history of the article is longer. The first draft was already written by me in 2019. In the meantime I have worked on it again and again. What finally kept me from publishing it was, in my opinion, not yet "finished" tooling of the "Microsoft Power Platform Build Tools for Azure DevOps - Power Platform | Microsoft Docs". The originally available tooling (Azure DevOps Extension) is still available now but has been marked as "DEPRECATED" since the jump to version 0.3.7. Already since the jump from version 0.1.16 to version 0.3.6 the original tooling has been fundamentally revised/improved.
In version 0.1.16, the access credentials (user name/password) had to be stored in plain text to set up the connection. Since version 0.3.6 this authentication can finally be setup using Service Principals.
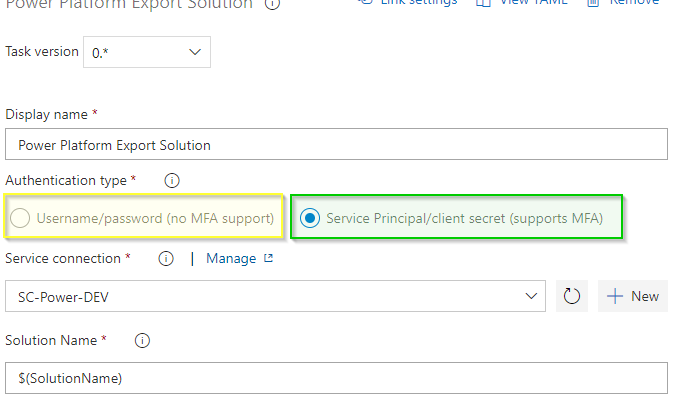 Figure: Authentication methods
The old (not recommended) method (yellow) is still available. So the transition to the new option (green) is seamless, even for users who have already used previous versions of BuildTools or have not yet set up Service Principals. When changing to or starting with the current version of the Build Tools, you should always be using Service Principals.
Two versions are available in the Visual Studio Marketplace: 1. Power Platform Build Tools - Visual Studio Marketplace
2. (DEPRECATED) PowerApps BuildTools - Visual Studio Marketplace
As described above, this extension [2] is now marked as "DEPRECATED", so only [1] should be used.
The tools currently available for Azure DevOps are basically a wrapper around the SolutionPackager for D365 Customer Engagement (CRM).
The final architecture, for the integration of Azure DevOps and Power Platform, will look like the following on an abstract level.
 Figure: Architecture overview
Microsoft itself suggests two different approaches for ALM in conjunction with the Power Platform. [^1] In this article the first variant is described, where only the source code is versioned, but not the packed solutions. In the context of classical software development this is also the normal way, because usually only source code and not compiled binaries are versioned.
Requirements
Basically, a few things are needed to be able to follow the steps. The following components are required.
- 3 Power Apps Environments (e.g. Microsoft 365-Entwicklerabonnements with three accounts inside the tenant each connected to Power Apps-Communityplan)
- 1 Azure DevOps project
- installed Microsoft Power Platform Build Tools for Azure DevOps - Power Platform | Microsoft Docs
- 1 Git Repository
- 1 Service Principal
Getting started
As mentioned above, three environments are required to follow this guide. For the following steps the following environments with the corresponding definitions are used.
| Name | Function |
|---|---|
| André Bering's Environment | DEV |
| Johanna Lorenz's Environment | BUILD/QA |
| Alex Wilber's Environment | PROD |
As you can see, these three environments are visible in the Power Platform Admin Center.
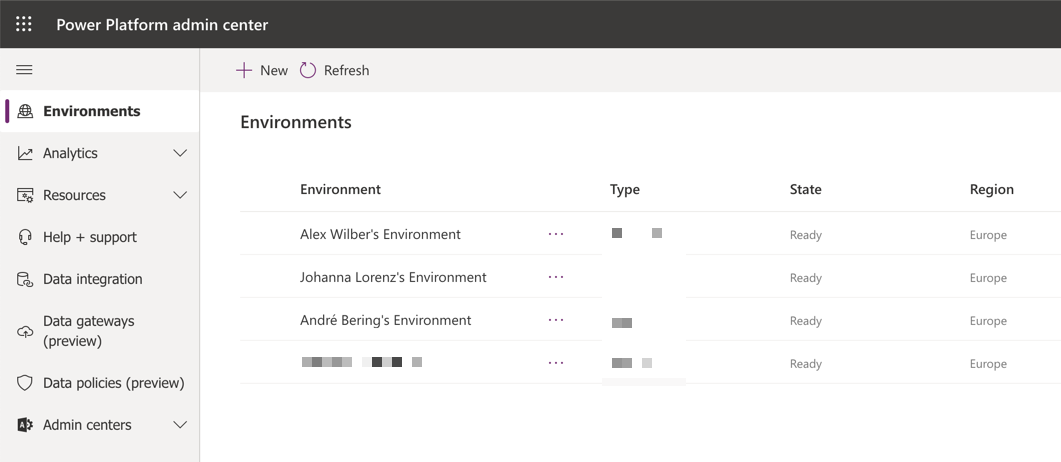 Figure: Environment overview
Having a background as a developer, the first question that might arise is how to version control your work in the Power Platform. At the moment there is no easy way to do this. The only way is to manually download the solution, unzip it and then version the content.
This process can be mapped into Azure DevOps using ALM, even with a kind of CI/CD approach.
The article is mainly based on the Microsoft tutorial for the Power Apps Build Tools, which can be found here.
For the tutorial and the further steps the URL of the respective environment is required. The URL can be found in the Admin Center.
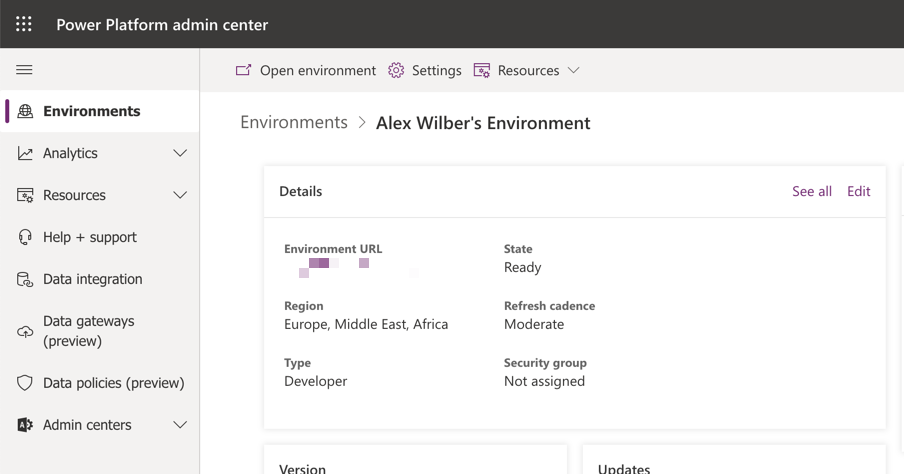 Figure: Admin Center - Environment URL
If any form of ALM is to be used with Power Apps, it is first necessary to understand how solutions work in this context. To understand these basics you can read this Microsoft Docs article: Solutions in Power Apps - Power Apps | Microsoft Docs
In this article there is another introduction linked, which should be read: Introduction to solutions - Power Apps | Microsoft Docs
Service connections / Service Principals
To be able to set up the connection in Azure DevOps, the corresponding Service Principal must be set up or stored in Azure DevOps. The corresponding menu item is located below "Project Settings - Pipelines - Service connection - New service connection".
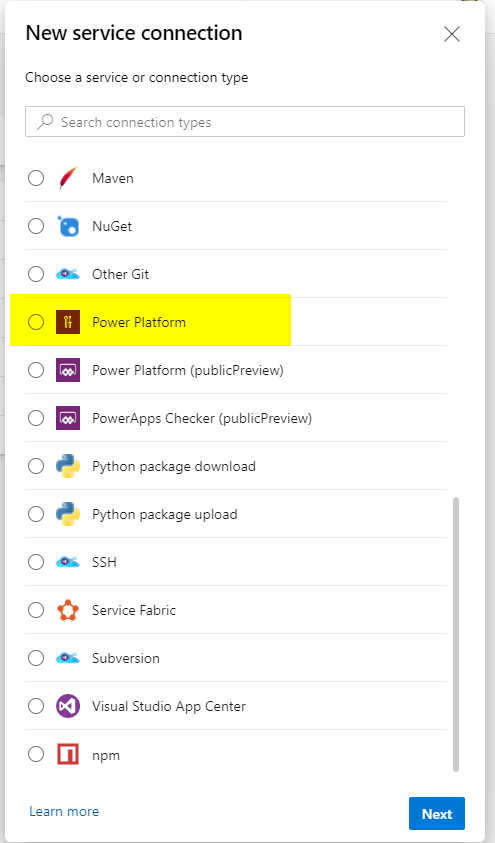 Figure: Azure DevOps Service - Create new service connection
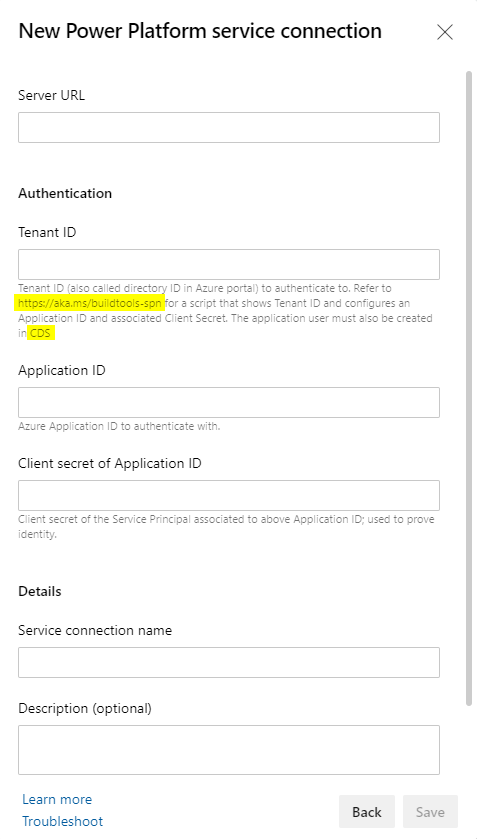 Figure: Azure DevOps Service connections
In the dialogue, reference is made to two places which should help to create the corresponding access or to store it in the correct place. The first link refers to instructions in Microsoft Docs. There it is recommended to create the access using a linked PowerShell script. However, the script can only be executed under Windows because the PowerShell modules used require "System.Forms" and these are only available under Windows. Therefore I recommend that the Service Principal is created directly in the Azure Portal. The corresponding documentation is linked in the continuous text of the manual.
After the Service Principal(s) have been created in Azure in, the setup can be continued.
The crucial point is that there is not the item "Settings" as in the manual, but the item "Advanced Settings". This item can be used to call up the corresponding interface.
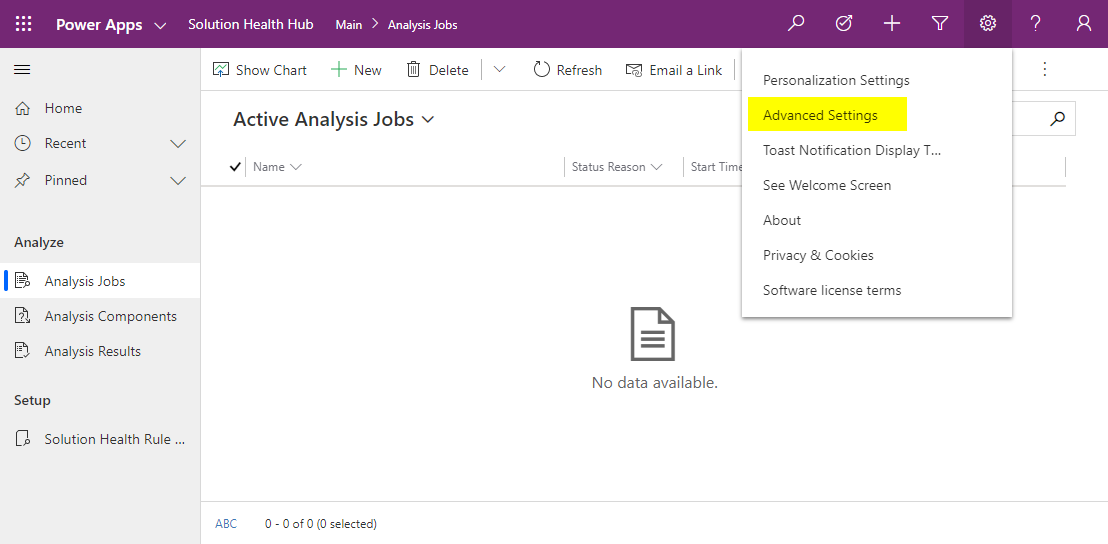 Figure: Settings - Advanced Settings
At this point, you might be surprised when the Dynamics 365 interface appears. The two platforms are very closely intertwined, so that certain settings are currently only (still) found in the old interface. The changeover to an end-to-end management interface is an ongoing process. Therefore it can be assumed that in the future the points will also be integrated into the power platform interface or a uniform look and feel.
There is another stumbling block in the Microsoft documentation, namely the creation of the user. However, the behavior regarding this stumbling block was not consistent.
For this reason, the following are the individual dialogs that must be processed to make the Service Principal known within the power platform environment.
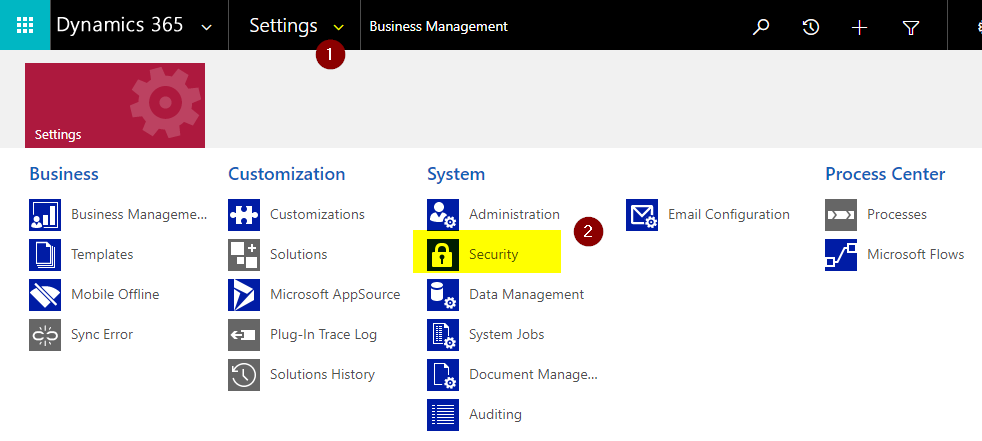 Figure: D365 Settings
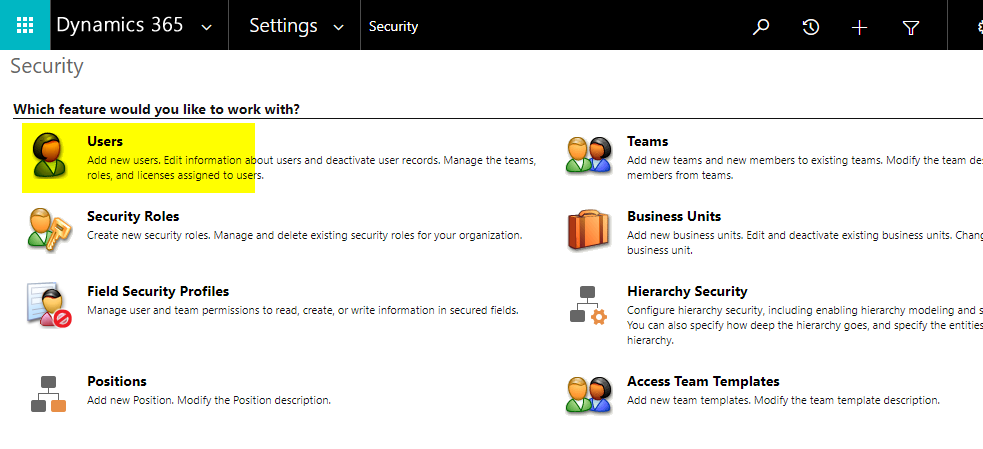 Figure: D365 Security
In the user list view, filter to "Application Users" and then click "+ NEW".
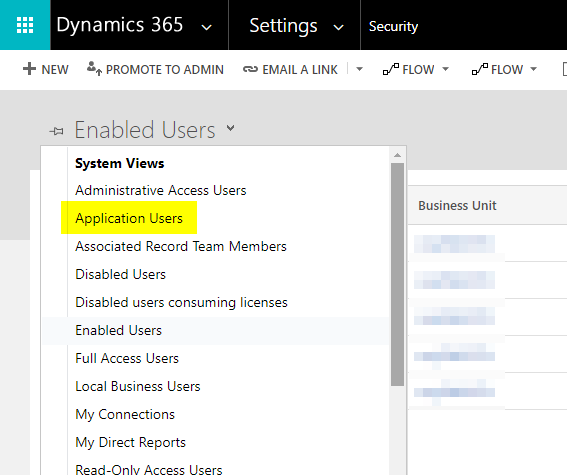 Figure: Filter user list
Before entering the data, the dialog must be switched to the correct mode by selecting "Application User".
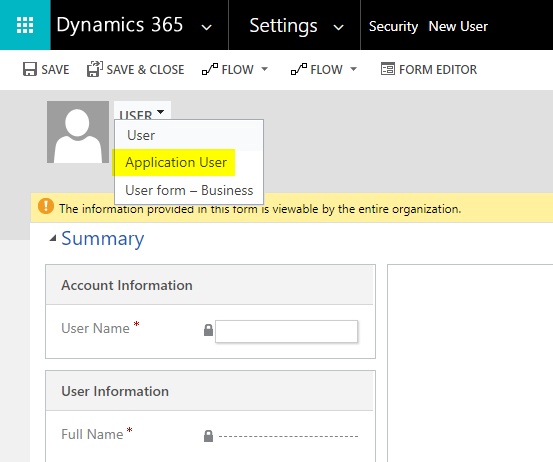 Figure: Select 'Application User'
When entering the data, the information that was previously defined when the Service Principal was created in the Azure Portal must be used. The user also needs (because it is a mandatory field of the form) an e-mail address, even if it is only a technical user account. Here, for example, addresses of so-called example domains (example domains - Wikipedia) can be used, as can be seen in the following screenshot However, the address is not used for sending e-mails.
After creating the user by clicking the "SAVE" button, do not close the not dialog.
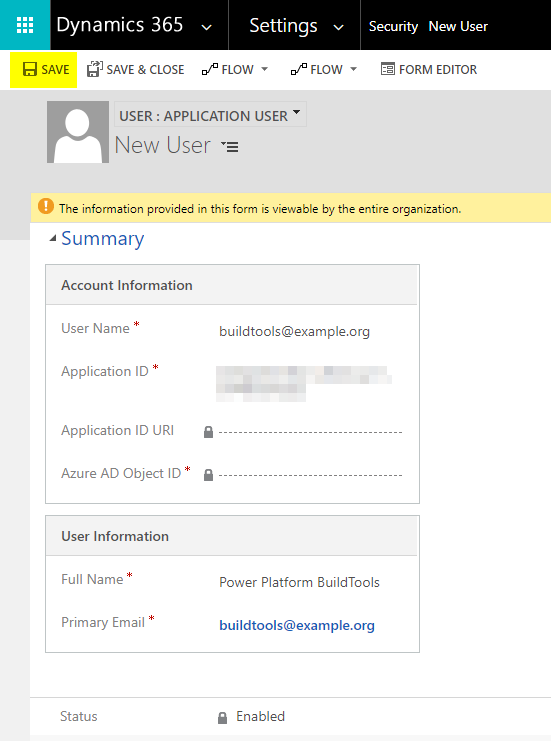 Figure: Enter user information
Using the button "MANAGE ROLES" the necessary role must be assigned to the user account.
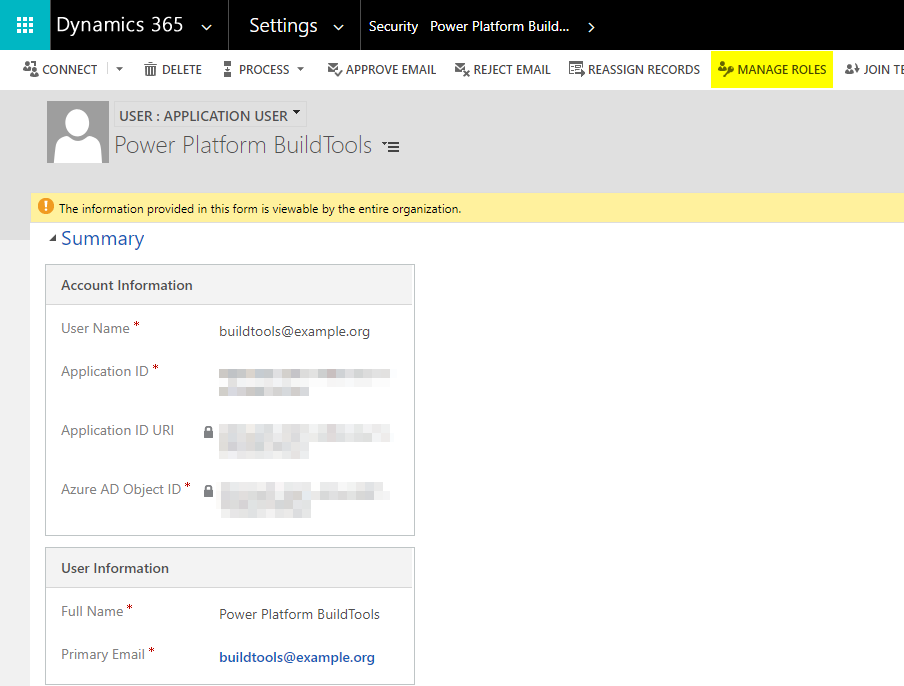 Figure: Open 'MANAGE ROLES'
To be able to perform all necessary actions with this user account, the role "System Administrator" must be assigned. Otherwise, errors will occur later in the context of using this accountby the Azure DevOps Pipelines.
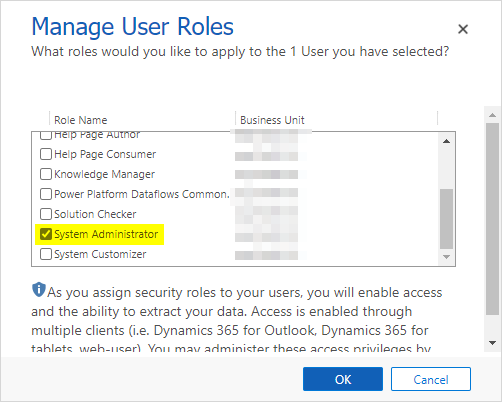 Figure: User role selection
After this step the account is set up and can now be stored in Azure DevOps. For this purpose the dialog which is shown/described at the beginning of this section ("Service connections / Service Principals must be used.
An individual Service Connection must be created for each power platform environment. In total, the setup described above must be carried out three times, whereby the Service Principal does not have to be created three times. The Service Principal can be stored as a user account in each environment.
Alternatively, a separate Service Principal can be created for each environment.
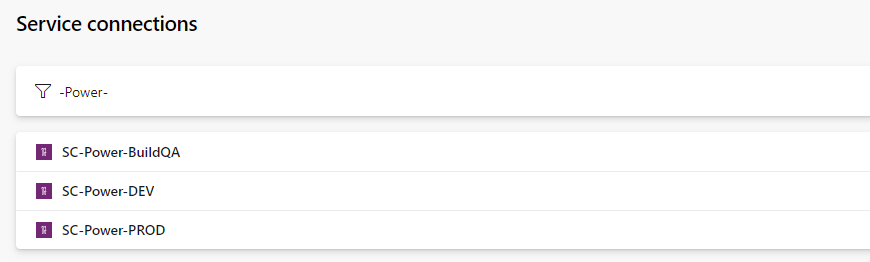 Figure: Azure DevOps Service connections list
Then create all required connections with the respective information/access data per environment.
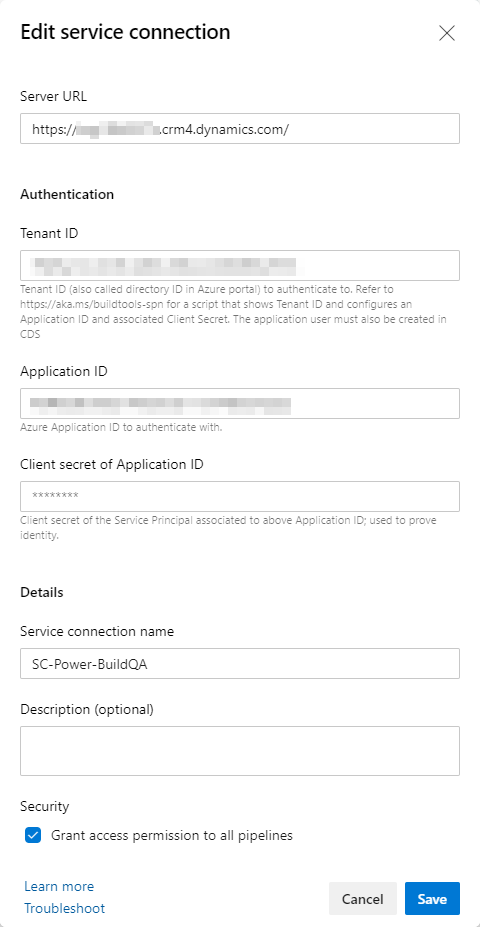 Figure: Azure DevOps Service connection properties
As described in the section "Getting Started", the URL of the environment is required and this value is stored as "Server URL" in Service Connection properties.
Azure DevOps Pipelines
Introduction
Once the Service Connections have been created, the pipelines and releases must now be set up. These are used to extract the source code from "DEV", create a Managed Solution in "QA/Build" and then roll out this Solution in "PROD".
One pipeline is required for each of the first two steps.
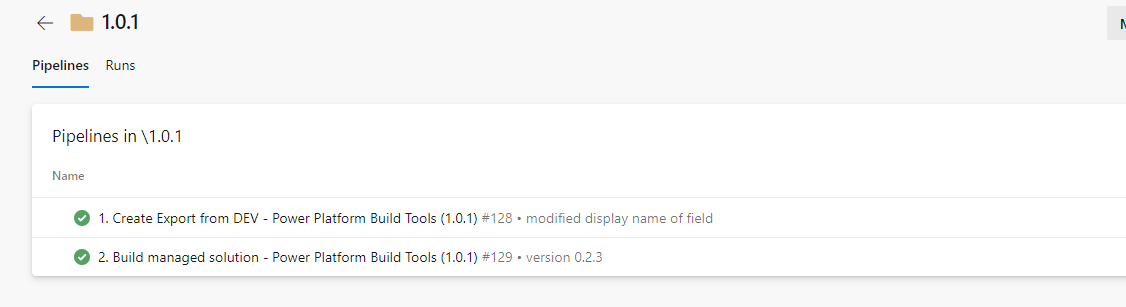 Figure: Azure DevOps Pipelines list
An Azure DevOps release is then used for the final deployment towards PROD.
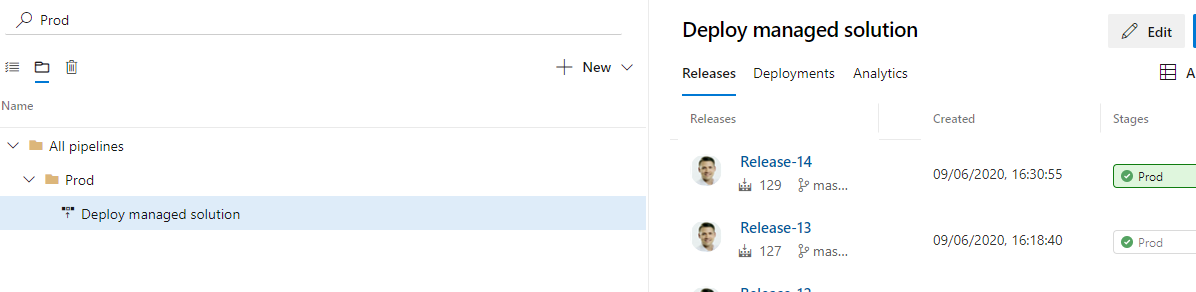 Figure: Azure DevOps Releases list
Repository permissions
Below "Project Settings - Repos - Repositories User" the account "\<Azure DevOps Project Name> Build service (\<Organization name>)" must be granted the "Contribute" permission. Otherwise, the build pipeline cannot push the source code into the repository.
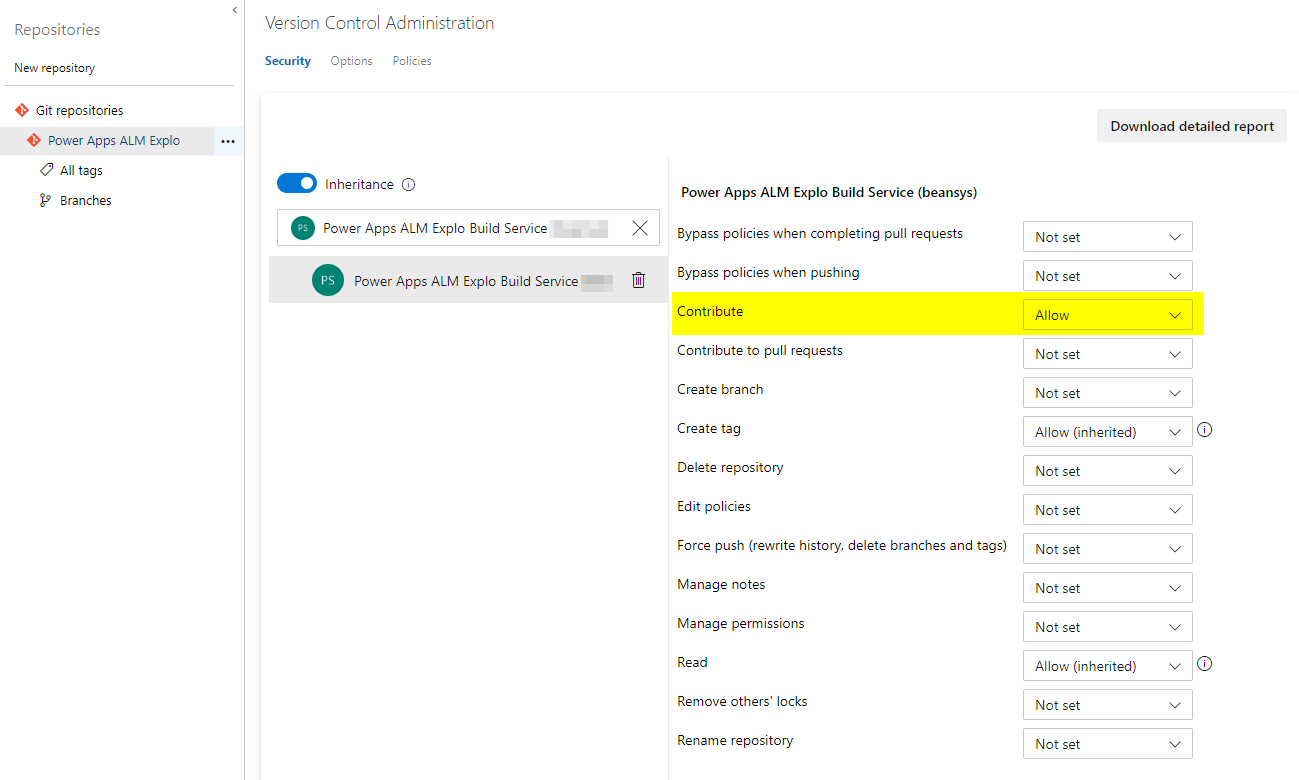 Figure: 'Build Service' permissions
Solution export
There are four steps in the pipeline for exporting the solution and one more for adding the code to the repository.
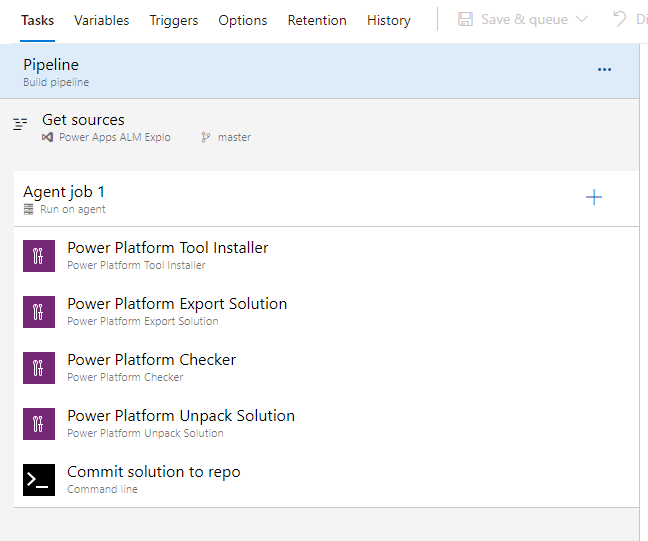 Figure: Azure DevOps pipeline tasks
To add the source code to the repository, a few command-line commands are required to have Git run automatically in the context of the pipeline.
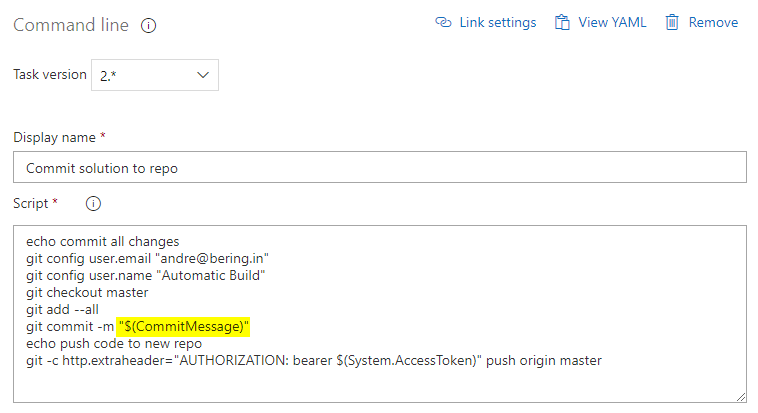 Figure: Azure DevOps pipeline command line task
The variable should be emphasized here. This must / can be set when the queue is started. This means that the respective commit comment can always be set dynamically during the respective run. The code for this task can be found in the following section.
Source code in repository
The commands are used in the final step "Commit solution to repo" to add the code to the repository.
echo commit all changes
git config user.email "